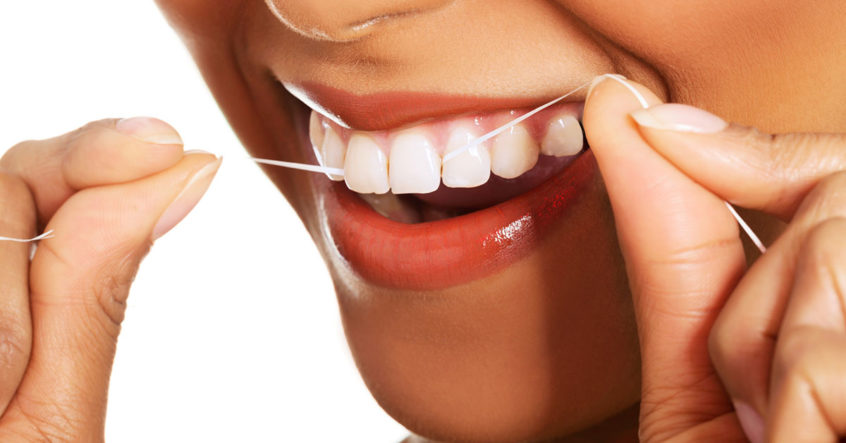
Flossing is one of the most disliked and skipped parts of the oral hygiene routine. Even dental patients who would never think of missing a chance to brush will conveniently forget to pull out the floss from time to time, and it can feel a little unusual or even uncomfortable at first. However, getting over those feeling is essential because using floss or related tools removes food trapped between the teeth and prevents you from getting gum disease. Get in the habit of flossing more by following these easy five step plan:
1. Find the Right Floss
There’s no one perfect floss, and believing that can make it harder to get used to the practice. Nylon floss is the most common product, but the material tends to shred and get caught between the teeth in a bothersome way. Look for PTFE floss instead, which is more durable and naturally more slippery even when un-waxed. Speaking of wax, un-waxed floss removes the most debris, but waxed is more comfortable for people with tight gaps between the teeth. Using waxed floss is much better than not flossing at all. Wide dental tape or ribbon also increases the amount of cleaning, but again it’s not always a good choice for tight tooth gaps. Flavors are fine and are a matter of personal preference.
2. Give Yourself Enough
Most people pull off six inches or so of floss and then struggle to keep a grip on it without turning their fingers white and red. Run out at least 18 inches of the material, which is longer than you think, and gently wind the ends around your fingers until you only have about three to four inches to work with. Having all that length to wrap means there’s no need to cut off your circulation to prevent slipping. It also allows you to wind and unwind the floss as necessary to get a clean area to work with so you’re not depositing food and bacteria back into your mouth.
3. Move It Slowly
Start with the gap between your two front teeth since it’s the most visible and accessible. Slide the floss up into the gap slowly, so it doesn’t snap painfully into your gum tissue. Run it backward and forwards slowly while moving it up and down the gap, focusing on the space away from the gumline. After these passes, slide right up to the gum line and gently angle the floss, so it wraps around the tooth edge on one side, then the other. This ensures that the floss cleans the front and back of each tooth instead of just the sides of the gap.
4. Switch Sections
There’s no need to unwind your floss after every tooth, but you should move to a new section after every three to four teeth. If you run out of clean floss, unroll a new strand.
5. Try a Tool
Finally, don’t be afraid to try a flossing tool if you’re having trouble reaching your molars or find that even the most narrow floss is too uncomfortable. Pre-strung dental flossing picks, ultrasonic flossing tools, and more can all make mastering flossing a lot easier.

